March 29th, 2022 by
Spring is on its way and if you want to use your outdoor space as if it were another room of the house, some garden furniture is essential. Not only is garden furniture practical for eating outdoors, entertaining, and just relaxing, it can also be incorporated into your overall garden design and create a beautiful space.
However, outdoor furniture can be quite expensive, so it makes sense to extend the lifespan of any furniture you already have. If yours is looking a little worse for wear after a few summers outdoors, or if you spot some second-hand furniture going cheap, the good news is it’s not difficult to spruce it up and getting looking fantastic again by painting it.
Here are a few tips for painting garden furniture to get the best results:
Prepare the area
Painting can be a messy job, especially with a paint sprayer, so make sure the area is prepared well – even if you plan on doing it outside:
- Put down some dust sheets underneath the item(s) you’re painting
- Place sheets over other objects in the vicinity
- If using a sprayer, keep as far away from upright structures such as fences, walls, and outbuildings or cover them with sheets or boards
- If painting outdoors, take note of the weather conditions. Obviously, don’t start if rain is forecast but be wary of very hot weather too as it could cause paint to dry too quickly and be streaky. Don’t use a sprayer if it’s breezy, or at least make sure any objects in the direction of the wind are well protected
- If painting indoors, make sure the space is well ventilated.
Prepare the furniture
To get a good finish, you’ll need to make sure the surfaces are as smooth as possible and also that they’re in a decent state of repair:
- Attend to any necessary repairs first such as tightening screws or fixing wobbly legs. If you do this after painting, you risk scratching into your fresh paintwork, plus if you find it’s not repairable, it’s better to know before you’ve put all the work in!
- For wooden furniture, give the surfaces a sand over to remove any loose paint and rough sections. Not only will this look smoother when painted, it will create a better bond with the paint and last longer
- For metal furniture you can sand over to remove loose paint as you would with wooden furniture but also look for signs of rust. Removing as much rust as possible will not only improve the look of the piece but prevent further deterioration as, left unchecked, rust will eventually eat its way through metal. Use a wire brush or sandpaper to remove as much as you can or use an electric sander or drill with a wire wheel attachment on tough areas. You can also apply a rust neutraliser which changes the chemical composition and halts the rust in its tracks. If you do this, you will need to wait at least 48 hours before painting it
- Once you have smoothed over the surfaces, whether wood or metal, wipe over to remove any loose dirt and dust and allow to dry. Brushing over with a dry brush is also a good way to remove loose particles
- For metal furniture, you may wish to apply a primer though many external metal paints can be applied directly onto metal. Check the instructions on the tin.
MYLEK Hot Air Heat Gun and Accessory Set Price: £24.98
Start painting
You are now ready for the fun bit, the painting!
- Ensure you use an outdoor paint that is suitable for the surface you are painting. It’s also a good idea to test a little in an inconspicuous area to check that you like the colour! Ideally, allow this to dry first before proceeding as it could look a different shade when dry
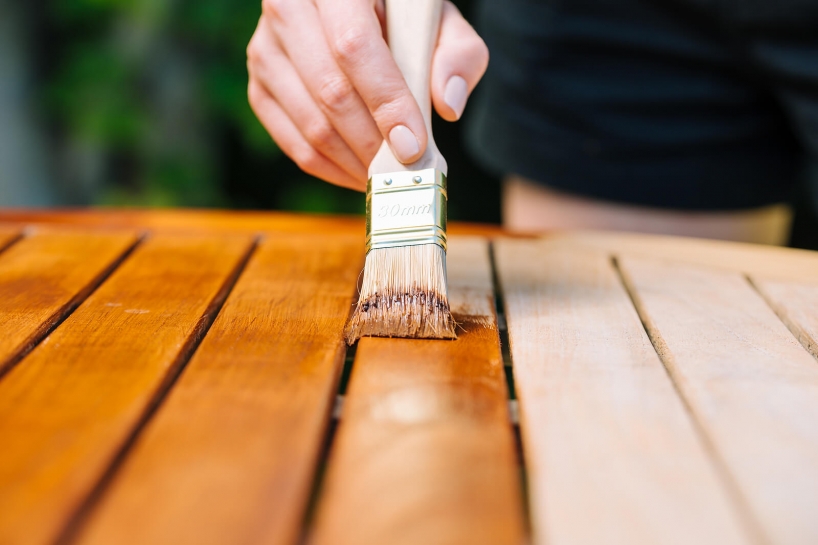
- If using a brush, make sure it is clean and dry before you start. Apply paint in a systematic way using strokes in the same direction and work your way across the surface. Don’t load too much paint onto your brush; it’s better to build thinner layers up than apply paint too thickly as you will get a more even finish
- If using a sprayer, start by spraying a piece of card or paper first to get a feel for the tool, make sure the nozzle is spraying as desired, and that the paint is the right consistency (often you will need to water it down a little for it to spray properly). Keep a consistent distance from the item to apply an even coat and don’t stand too close as the layer will be too thick. Start with a light layer first and build up over a few layers. Move the gun in long, straight strokes and keep moving along the length of the item rather than standing still and fanning side to side.
- With either method, keep a damp sponge to hand to smooth out any splodges as you go or wipe from areas you didn’t want to paint
- Allow paint to dry thoroughly before applying the next coat.

Comments
Leave a reply
Your e-mail address will not be published. All fields are required


